Dealing with noisy neighbors can be frustrating. It can disrupt your peace and quiet.
Finding an effective way to soundproof your walls is essential. You deserve a calm and quiet home, free from unwanted noise. Soundproofing your walls can significantly reduce the noise coming from adjacent apartments or houses. This blog post will guide you through the best methods to soundproof a wall.
We will explore various techniques and materials that can help you achieve a quieter living space. By the end of this post, you’ll have the knowledge to create a more serene environment in your home. Let’s get started on making your home a peaceful retreat.
Credit: www.ikoustic.co.uk
Introduction To Soundproofing
Living next to noisy neighbours can be frustrating. Constant noise affects your peace and sleep. Soundproofing your walls can help. It creates a quieter, more relaxing home.
Soundproofing involves adding materials to block or absorb sound. Different techniques and materials can achieve this. Let’s explore why soundproofing is important and common noise issues you might face.
Importance Of Soundproofing
Soundproofing improves your quality of life. It reduces stress and helps you sleep better. You can focus on work or enjoy your hobbies without distractions. Soundproofing also increases your home’s value. Buyers appreciate quiet homes.
It also ensures privacy. Conversations in your home stay private. Neighbours won’t hear you, and you won’t hear them. Soundproofing creates a peaceful environment for everyone.
Common Noise Issues
Neighbour noise comes in many forms. Loud music is a common complaint. Parties can be loud and disruptive. Constant foot traffic and door slams are also issues.
Pets can be noisy too. Barking dogs and noisy cats can disturb your peace. Appliances like washing machines and vacuum cleaners add to the noise. Thin walls often let these sounds in.
Understanding these noise issues helps you choose the right soundproofing methods. Addressing these problems can make your home quieter and more comfortable.
Assessing Noise Levels
Living next to noisy neighbors can be very frustrating. Before you start soundproofing, it’s important to assess the noise levels. Understanding the noise source and its intensity is key to finding the best solution. This section will help you identify and measure the noise.
Identifying Noise Sources
The first step is to find where the noise is coming from. Is it loud music, footsteps, or talking? Different sounds require different solutions. Sit in the room and listen carefully. Note the times when the noise is the loudest. This will help you identify patterns and the main sources of the noise.
Measuring Noise Intensity
After identifying the noise source, measure its intensity. Use a sound level meter for accurate readings. You can also use a smartphone app for this purpose. Take readings at different times of the day. This helps understand the noise variations. Knowing the noise level will guide you in choosing the right soundproofing materials.
Choosing The Right Materials
Soundproofing a wall from noisy neighbours can be a challenging task. Choosing the right materials is crucial for success. This ensures that the soundproofing efforts are effective and long-lasting. In this section, we will discuss two key materials: soundproofing insulation and acoustic panels.
Soundproofing Insulation
Soundproofing insulation is essential for blocking noise. It works by absorbing sound waves and preventing them from passing through walls. Common types of soundproofing insulation include fiberglass, mineral wool, and cellulose.
Fiberglass insulation is widely used due to its affordability and effectiveness. It is available in rolls or batts, making it easy to install. Mineral wool, on the other hand, offers better sound absorption but at a higher cost. It is denser and provides excellent thermal insulation as well. Cellulose insulation, made from recycled materials, is an eco-friendly option. It is blown into wall cavities, filling gaps and reducing sound transmission.
| Insulation Type | Benefits | Drawbacks |
|---|---|---|
| Fiberglass | Affordable, Easy to Install | Less Effective than Mineral Wool |
| Mineral Wool | High Sound Absorption, Thermal Insulation | More Expensive |
| Cellulose | Eco-Friendly, Fills Gaps | Installation Requires Professional |
Acoustic Panels
Acoustic panels are another effective soundproofing material. These panels are designed to absorb sound and reduce echo within a room. They are typically made from foam or fabric-wrapped materials.
Foam acoustic panels are popular for their affordability and ease of installation. They come in various shapes and sizes, allowing for customization. Fabric-wrapped panels, while more expensive, offer superior sound absorption and a more aesthetic appearance. They can be customized with different fabrics and colors to match the room’s decor.
- Foam Panels: Affordable, Easy to Install
- Fabric-Wrapped Panels: Better Absorption, Aesthetic Appeal
Installing acoustic panels is straightforward. Simply attach them to the wall using adhesive or mounting brackets. For best results, cover as much wall surface as possible.
Installing Soundproofing Insulation
Soundproofing insulation can significantly reduce noise from neighbors. This method is effective and straightforward. It involves adding a barrier inside the wall. This barrier absorbs sound, making your home quieter.
Preparing The Wall
Before installing insulation batts, prepare the wall. Clear the area of furniture and decorations. This gives you room to work. Check for any gaps or cracks in the wall. Use caulk to seal these gaps. Gaps can let noise through, reducing the effectiveness of insulation.
Next, remove the drywall. Use a utility knife to cut along the seams. Carefully pull the drywall away from the studs. Wear gloves and a mask to protect yourself from dust. Dispose of the old drywall properly. Now, you have access to the wall cavity.
Installing Insulation Batts
Choose the right insulation batts. Fiberglass batts are common and effective. They are easy to install and affordable. Measure the wall cavity. Cut the batts to fit using a utility knife. The batts should fit snugly between the studs.
- Place the batt into the cavity.
- Ensure it covers the entire space.
- Press it gently to avoid gaps.
Once all batts are in place, install new drywall. Screw the drywall into the studs. Apply joint compound to the seams. Sand the compound smooth once it dries. Paint the wall to match your room. This restores the wall’s appearance and improves soundproofing.
| Step | Action |
|---|---|
| 1 | Prepare the wall |
| 2 | Remove old drywall |
| 3 | Seal gaps with caulk |
| 4 | Install insulation batts |
| 5 | Install new drywall |
Installing soundproofing insulation is a DIY-friendly project. It can greatly reduce noise from noisy neighbors. Follow these steps for a quieter home.
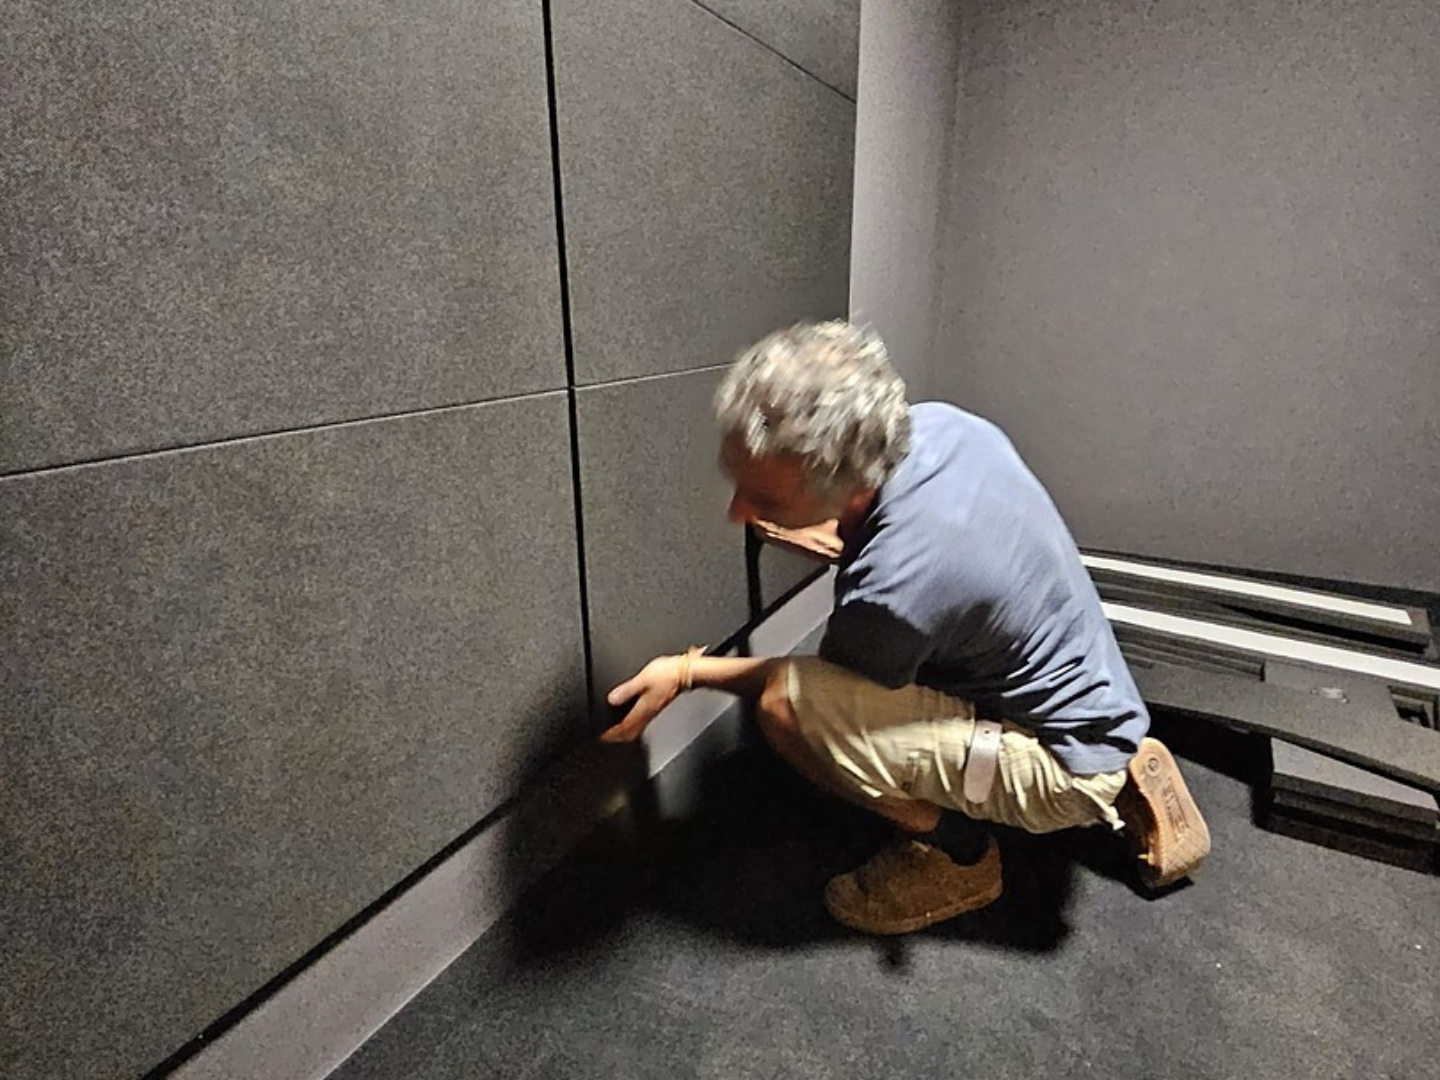
Adding Acoustic Panels
Adding acoustic panels is a great way to soundproof a wall. These panels absorb sound and reduce noise from neighbors. They are effective and easy to install.
Selecting Acoustic Panels
There are many types of acoustic panels to choose from. Foam panels are common and affordable. Fabric-wrapped panels offer better sound absorption. There are also wooden panels for a stylish look. Consider the noise level you want to reduce. Think about your room’s decor too. Choose panels that match your needs and style.
Mounting Techniques
Mounting acoustic panels is a simple process. First, clean the wall surface. Make sure it is free from dust and dirt. Then, measure the area where you will place the panels. Mark the spots with a pencil.
Use adhesive strips for lightweight panels. Peel off the backing and press the panel onto the wall. For heavier panels, use screws or wall anchors. Drill holes at the marked spots. Insert the screws or anchors and attach the panels securely.
Position the panels evenly across the wall. This helps to absorb more sound. Start from the middle and work your way out. Check the alignment to ensure a professional look.
Credit: www.decibelinternational.co.uk
Sealing Gaps And Cracks
Sealing gaps and cracks is a crucial step in soundproofing your wall. This process helps prevent noise from sneaking through small openings. By addressing these gaps, you can significantly reduce noise levels from noisy neighbours.
Using Acoustic Caulk
Acoustic caulk is a flexible, sound-absorbing sealant. Use it to fill gaps around windows, doors, and electrical outlets. It remains flexible, so it won’t crack over time. This ensures long-lasting soundproofing.
Apply the caulk with a caulking gun. Make sure to cover all small gaps and cracks. Smooth the caulk with a wet finger for a clean finish. Let it dry completely for the best results.
Applying Weatherstripping
Weatherstripping is another effective method to seal gaps. It works well for doors and windows. Weatherstripping materials include foam tape, felt, and rubber. Choose the type that best suits your needs.
To apply weatherstripping, clean the area first. Measure the length of the gap and cut the weatherstripping to size. Peel off the backing and press it firmly into place. This creates a tight seal to block noise.
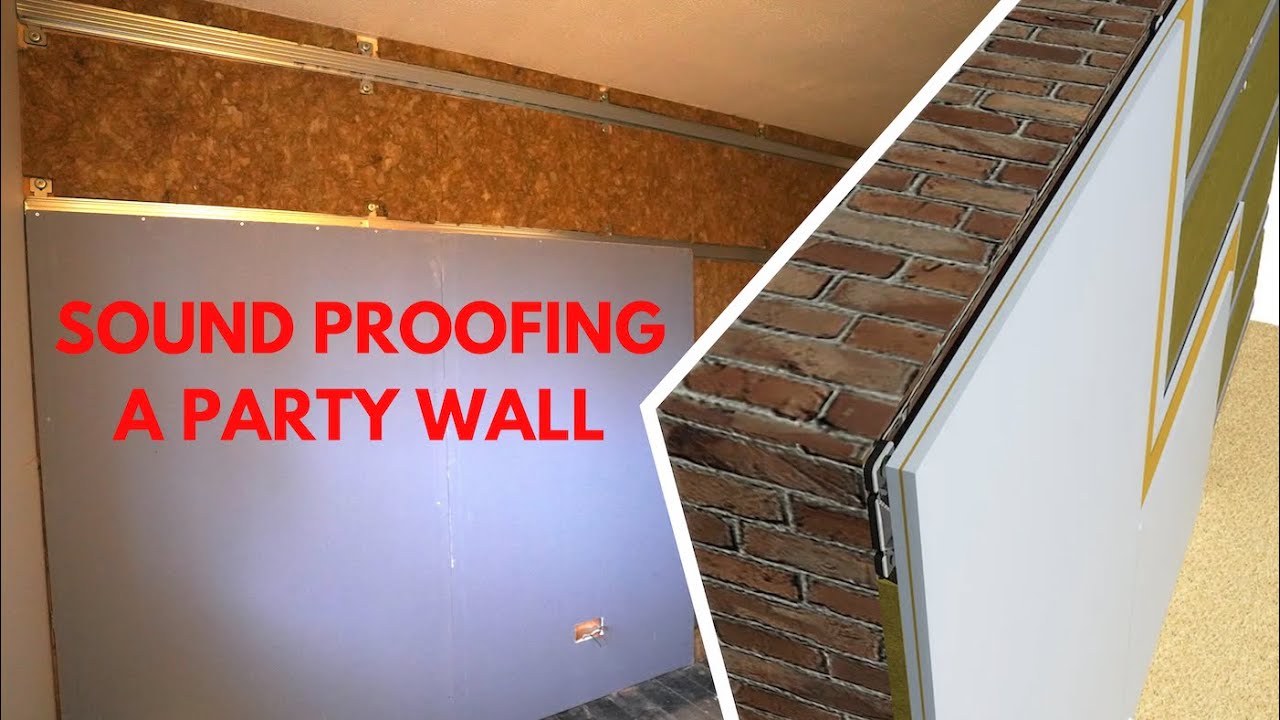
Enhancing With Additional Layers
Soundproofing a wall can be challenging. Neighbors’ noise can disrupt peace. Adding extra layers can help. These layers absorb and block sound. Two effective methods are using Mass Loaded Vinyl and Resilient Channels.
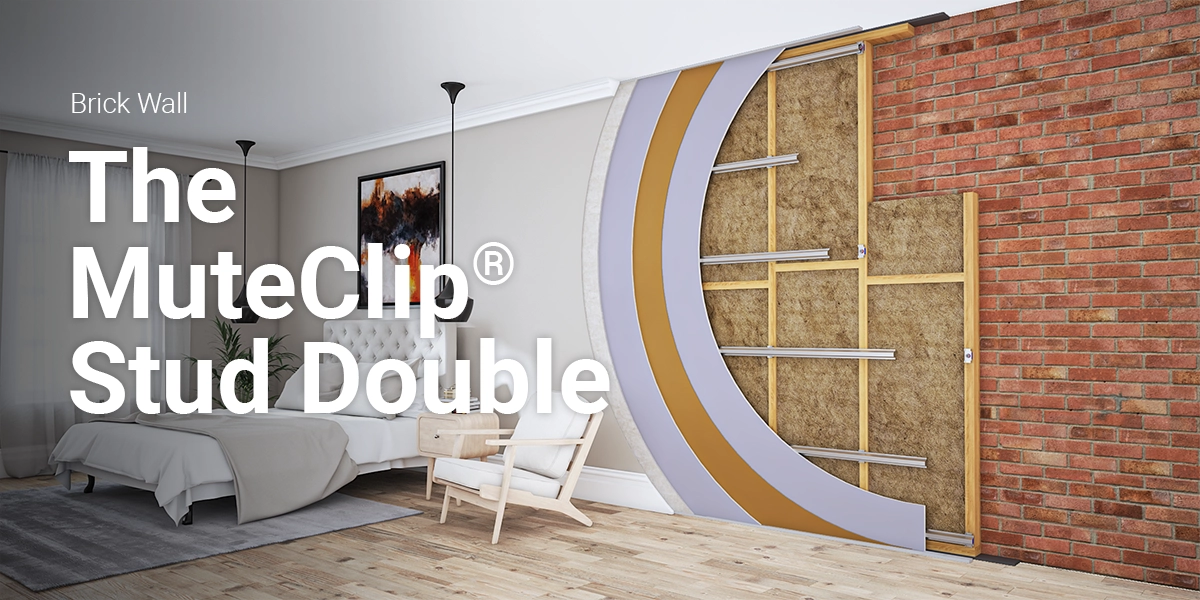
Adding Mass Loaded Vinyl
Mass Loaded Vinyl (MLV) is a dense, flexible material. It is designed to block sound. MLV can be added to walls. This increases their mass. More mass means better soundproofing. To install MLV, you need to measure the wall first. Cut the vinyl to fit. Attach it to the wall using screws or nails. Seal the edges with acoustic caulk. This stops sound from leaking through gaps. MLV is effective and easy to use.
Installing Resilient Channels
Resilient Channels can also help. These metal strips are attached to wall studs. Drywall is then mounted on the channels. This creates a gap between the wall and the drywall. Sound waves lose energy in this gap. This reduces noise transfer. To install resilient channels, find the studs first. Attach the channels horizontally. Place them 24 inches apart. Use screws to secure them. Mount the drywall on the channels. Ensure there are no gaps. This method is effective for reducing noise.
Credit: www.youtube.com
Testing And Adjusting
After installing soundproofing materials, it’s crucial to test their effectiveness. This ensures you achieve a quieter environment. Testing and adjusting help identify any gaps in your soundproofing efforts.
Evaluating Effectiveness
Begin by listening for noise from your neighbors. Pay attention to both loud and subtle sounds. Try these methods:
- Play music at a reasonable volume to see if it penetrates through the wall.
- Have someone speak loudly on the other side of the wall.
- Use a decibel meter to measure noise levels before and after soundproofing.
Compare the noise levels to evaluate the effectiveness of your soundproofing. Decibel meters provide accurate results. These devices measure sound intensity in decibels (dB).
| Noise Source | Before Soundproofing (dB) | After Soundproofing (dB) |
|---|---|---|
| Music | 70 | 50 |
| Conversation | 65 | 45 |
Making Necessary Adjustments
If noise levels are still high, make adjustments. Here are some tips:
- Seal any gaps or cracks with acoustic sealant.
- Add extra layers of drywall with soundproofing materials in between.
- Install soundproof curtains or heavy drapes over the walls.
- Use acoustic panels to absorb more sound.
Check for any vibrating surfaces or materials. Vibrations can amplify sound, so secure loose items. Rugs or carpets on the floor can also reduce noise.
Testing and adjusting your soundproofing efforts ensure a quieter home. Monitor changes and continue to make improvements as needed.
Maintenance Tips
Maintaining your soundproofed wall ensures it continues to block noise effectively. Proper upkeep extends the life of your soundproofing materials. Follow these maintenance tips to keep your wall in top condition.
Regular Inspections
Inspect your soundproofed wall every few months. Look for cracks or gaps that could let noise through. Check the edges and corners where materials might shift. Use a flashlight to see better in dim areas. Small issues can become big problems if ignored. Repair any damage quickly to maintain soundproofing.
Long-term Care
Care for your soundproofing materials over time. Avoid hanging heavy items on the wall. Heavy objects can compromise soundproofing. Clean surfaces gently to avoid wear. Use a soft cloth and mild detergent. Be cautious with water to prevent material damage. Monitor humidity levels in your home. Excess moisture can weaken soundproofing materials. Ensure your home stays dry and well-ventilated.
Frequently Asked Questions
How Can I Soundproof A Wall Cheaply?
You can soundproof a wall cheaply by using thick curtains, rugs, or furniture. These items can absorb sound. Adding weatherstripping to doors and windows can also reduce noise.
What Materials Are Best For Soundproofing Walls?
The best materials for soundproofing walls include mass-loaded vinyl, acoustic panels, and fiberglass insulation. These materials can effectively block and absorb sound.
Can Soundproofing A Wall Block All Noise?
Soundproofing a wall can significantly reduce noise, but it may not block all noise entirely. Using a combination of methods can achieve better results.
How Thick Should Soundproofing Materials Be?
Soundproofing materials should ideally be at least 1 to 2 inches thick. Thicker materials provide better sound absorption and noise reduction.
Conclusion
Soundproofing your wall can greatly improve your living space. Try different methods to find what suits your needs best. Use materials like foam panels, mass loaded vinyl, or even thick curtains. Each option offers unique benefits. Consistent efforts lead to quieter, more peaceful surroundings.
Your home should be a haven from noise. Investing in soundproofing is worth the effort. Enjoy a calmer, more comfortable environment with better sound insulation.