Soundproofing a room can make a big difference for recording. It helps create clear audio without unwanted noise.
Many people think soundproofing is too expensive. The good news? You can do it on a budget. In this guide, we will explore simple and affordable ways to soundproof your space. Whether you are a musician, podcaster, or content creator, having a quiet room is essential.
You don’t need to break the bank to achieve this. With a few smart choices and DIY techniques, you can reduce noise and improve your recordings. Let’s dive into the best methods for soundproofing your room without spending a fortune.
Introduction To Cost-effective Soundproofing
Soundproofing a room doesn’t have to be expensive. Many people think they need to spend a lot to block noise. With a few simple methods, you can create a quiet space for recording. This guide will help you find budget-friendly ways to soundproof your room. You can achieve great results without breaking the bank.
Why Soundproofing Matters
Noise can disrupt recording sessions. It can ruin the quality of your audio. Soundproofing protects against unwanted sounds. This is especially important for musicians and podcasters.
Creating a quiet environment leads to better recordings. Less noise means clearer sound. This can enhance your projects significantly. Soundproofing helps you focus and perform better.
Scope Of Soundproofing On A Budget
Cost-effective soundproofing is possible. Many materials are affordable and easy to find. Common items like blankets and rugs can help absorb sound. You don’t need professional services to make a difference.
Using DIY methods can save money. Simple changes can create a quieter space. Rearranging furniture can also help. These small adjustments may reduce noise effectively.
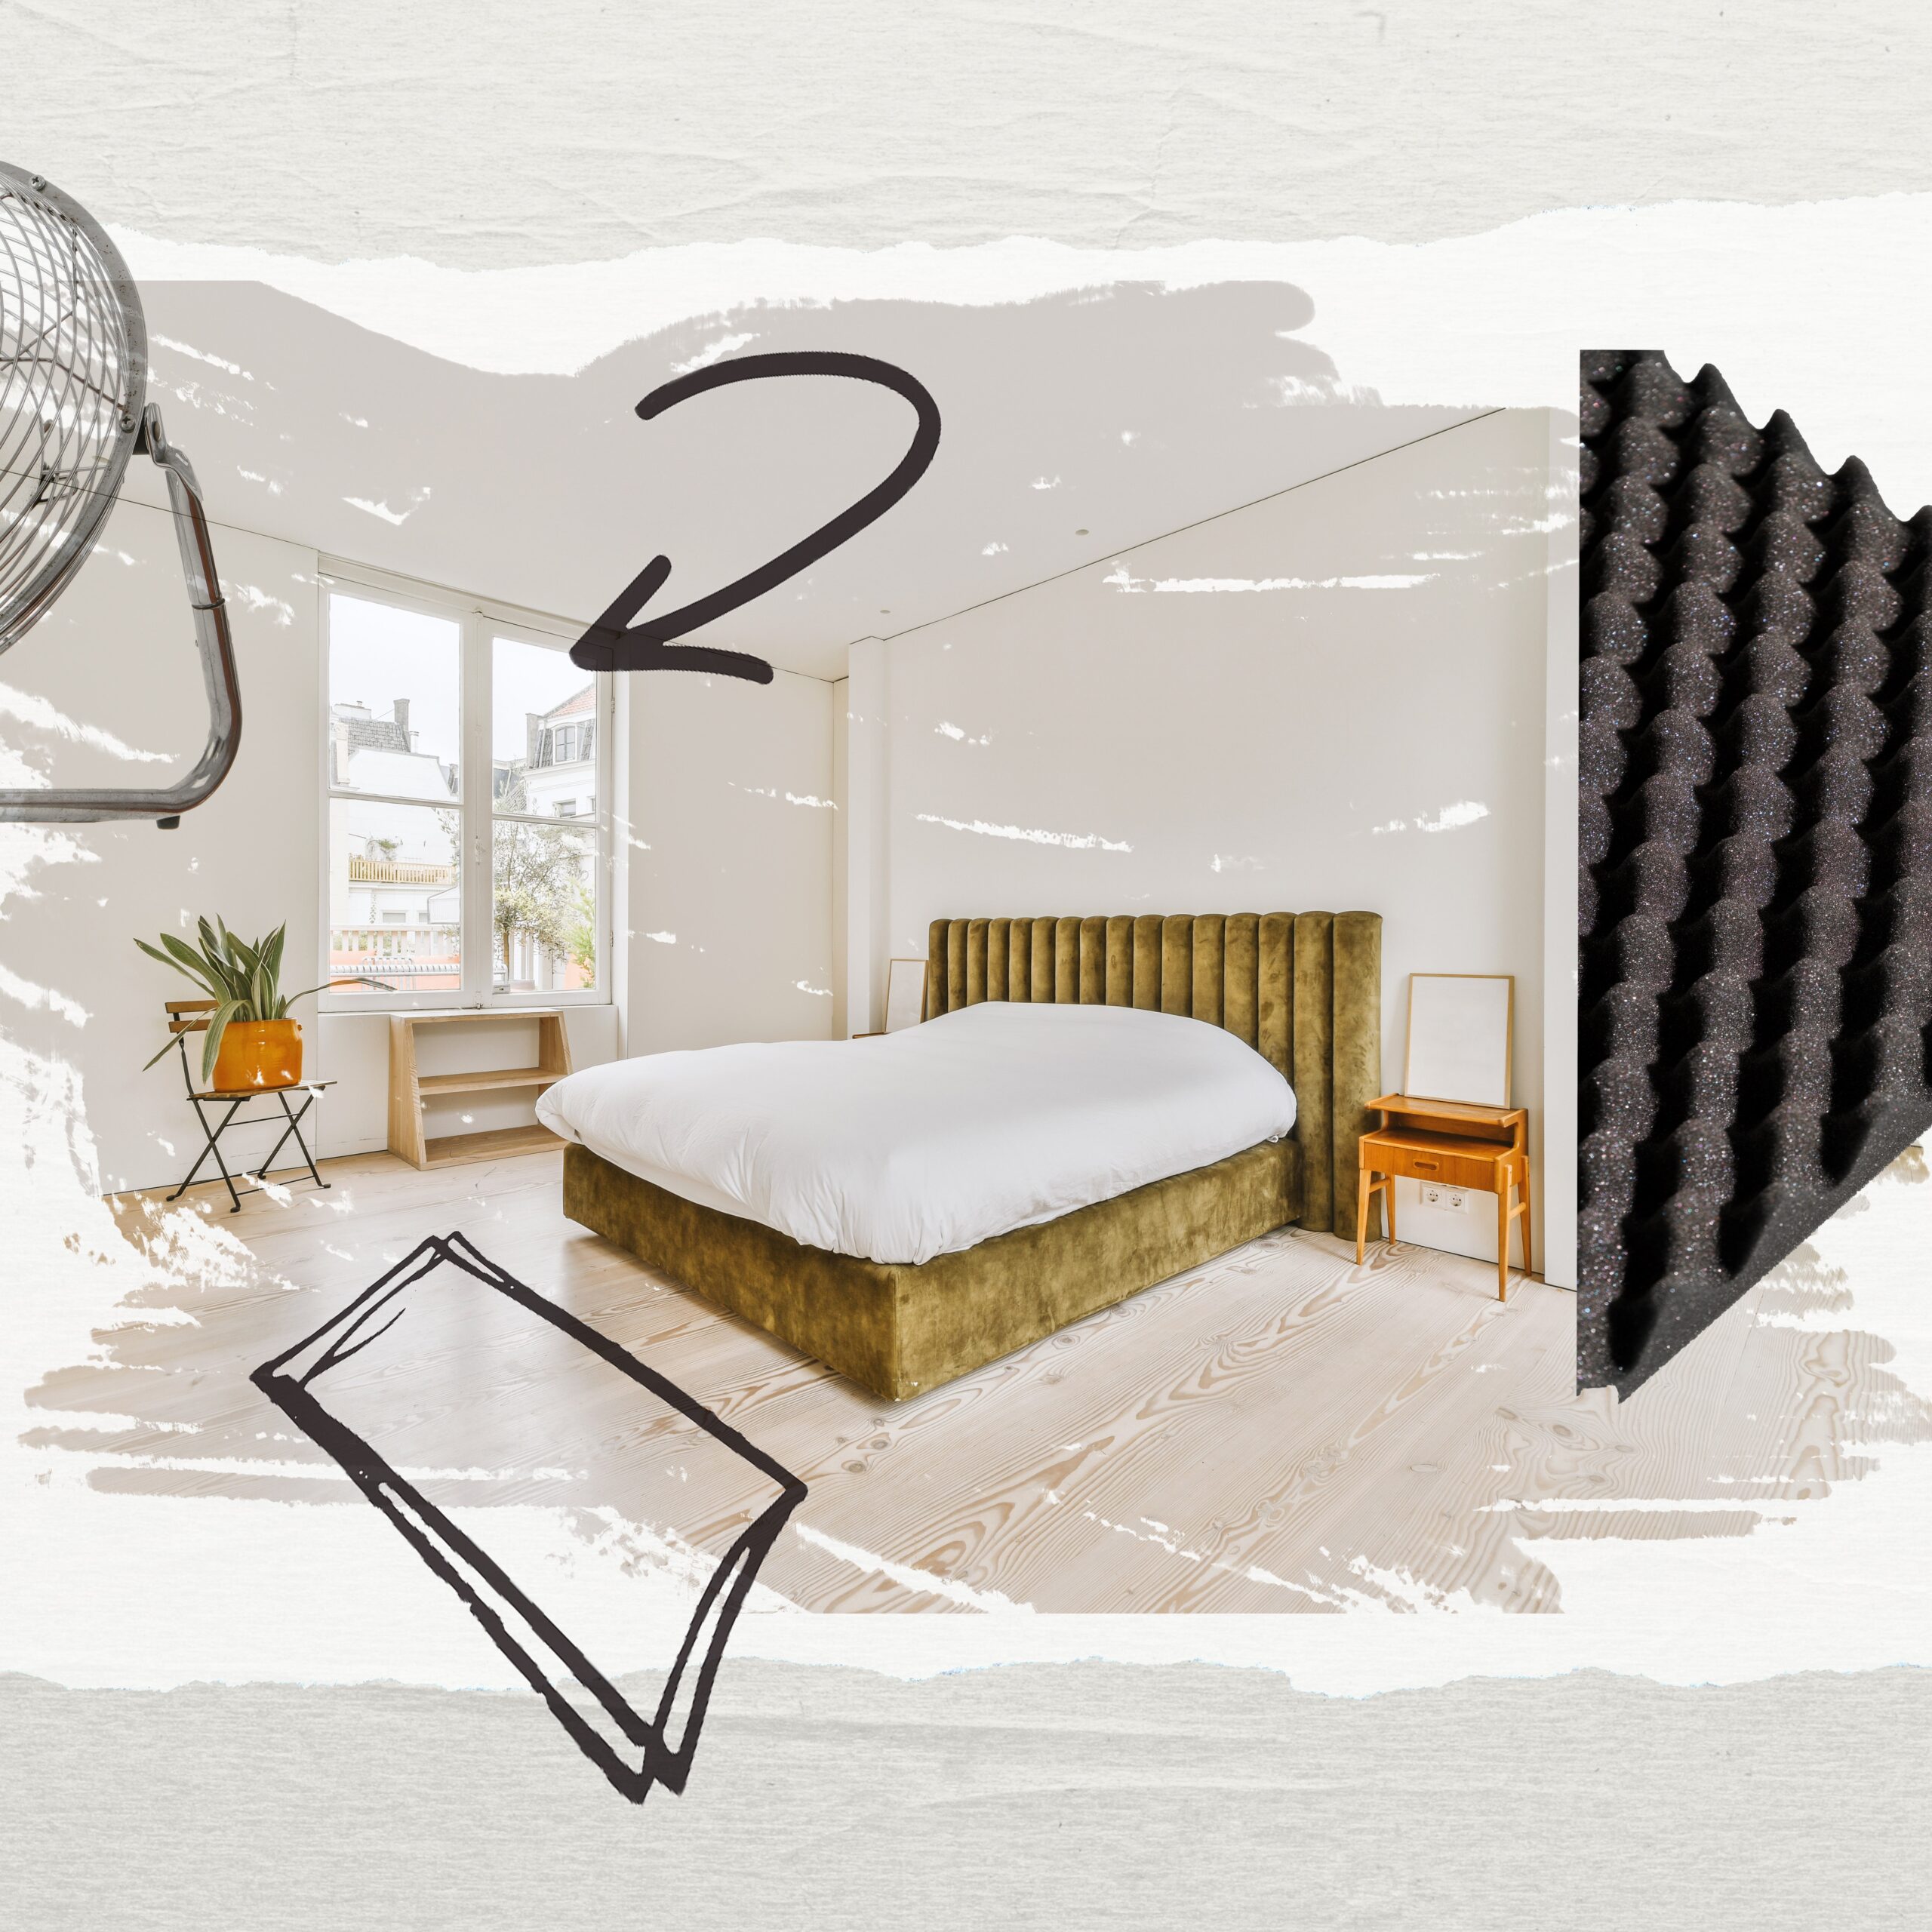
Credit: commercial-acoustics.com
Identifying Common Noise Sources
To soundproof a room for recording, start by identifying noise sources. Recognizing these sources helps you choose the right solutions. There are two main types of noise: external and internal. Understanding their differences is key to effective soundproofing.
External Vs. Internal Noise
External noise comes from outside the building. It includes sounds like:
- Traffic
- Construction
- Animals
- People talking
Internal noise originates from within the room or building. This can be:
- Air conditioning
- Appliances
- Footsteps
- Voices from other rooms
Knowing whether noise is external or internal helps you create a better soundproofing plan.
Pinpointing Trouble Areas
Next, locate the main trouble areas in your space. Focus on common noise entry points:
- Windows: Thin glass lets in a lot of noise.
- Doors: Gaps around doors can allow sound to enter.
- Walls: Shared walls with neighbors can be noisy.
- Floors: Sounds from above can disrupt recordings.
Check these areas for potential noise issues:
| Noise Source | Common Issue | Possible Solution |
|---|---|---|
| Windows | Single-pane glass | Use thick curtains or window inserts |
| Doors | Gaps and thin materials | Weather stripping or solid core doors |
| Walls | Thin drywall | Add soundproofing panels or insulation |
| Floors | Hard surfaces | Add rugs or carpets |
By identifying these noise sources, you can take steps to soundproof effectively.
Basic Principles Of Soundproofing
Soundproofing a room involves key principles. Understanding these can help you create a better recording space. It’s not just about blocking sound. It’s also about how sound behaves in a room.
Two main concepts help in soundproofing: absorption and dampening. Another important idea is decoupling. Each plays a role in reducing unwanted noise.
Absorption Vs. Dampening
Absorption reduces sound reflections. It soaks up sound waves. Soft materials like foam, carpets, and curtains are great for this. They help lower echo and reverb in the room.
Dampening, on the other hand, reduces sound vibrations. It stops sound from traveling through walls and floors. Heavy materials like mass-loaded vinyl or thick drywall work well for dampening.
Decoupling Explained
Decoupling creates a barrier between surfaces. This means walls or floors do not touch. It prevents sound from passing easily. You can use resilient channels or isolation clips for this.
Decoupling is effective and can be low-cost. It helps keep your recordings clear and free from noise. Understanding these principles will guide your soundproofing efforts.
Diy Sound Absorbers
Soundproofing a room doesn’t need to be expensive. DIY sound absorbers can help reduce noise. They are easy to make and use simple materials. Let’s explore how to create effective sound absorbers at home.
Creating Homemade Acoustic Panels
Acoustic panels are great for absorbing sound. You can make them with basic supplies. Here’s a simple way to create your own:
- Gather materials:
- Wooden frames
- Foam or insulation board
- Fabric (like burlap or cotton)
- Staple gun
- Cut the foam to fit inside the frame.
- Wrap the foam with fabric. Use a staple gun to secure it.
- Attach the fabric-covered foam to the wooden frame.
- Hang the panels on walls or place them in corners.
These panels will absorb sound and improve your recording quality. Position them where sound reflects the most.
Using Everyday Items For Absorption
You can use common items to help with sound absorption. Here are some effective options:
| Item | How it Helps |
|---|---|
| Blankets | Hang them on walls or windows. |
| Pillows | Place them around the recording area. |
| Rugs | Use them on the floor to absorb sound. |
| Bookshelves | Fill them with books for extra absorption. |
These items are affordable and easy to find. Use them to create a quieter space for recording. Combining different items can enhance the effect.
Door And Window Treatments
Soundproofing a room starts with doors and windows. These areas let in sound easily. Sealing them can greatly reduce noise. Simple treatments can make a big difference.
Sealing Gaps And Cracks
Gaps and cracks around doors and windows allow sound to enter. Sealing these areas is an easy way to block noise. Use these methods:
- Weatherstripping: Apply adhesive strips around doors and windows.
- Caulk: Fill small cracks with caulk. This creates a solid barrier.
- Door sweeps: Install these at the bottom of doors. They close the gap.
Check for drafts. If you feel air, sound can enter. Focus on areas that seem loose or damaged.
Diy Window Plugs
Window plugs are a cheap soundproofing solution. They block sound from entering through windows. Here’s how to make them:
- Measure the window size.
- Cut a piece of foam board to fit snugly.
- Cover the foam with fabric for a clean look.
- Insert the plug into the window frame when recording.
Remove the plug when not in use. This keeps your room bright and open.
Using these door and window treatments can reduce noise. Simple steps can create a better recording space.
Improving Wall And Ceiling Acoustics
To achieve great sound quality, focus on improving wall and ceiling acoustics. This helps reduce noise from outside and keeps sound inside. Affordable solutions exist for both homeowners and renters. Let’s explore effective methods.
Mass-loaded Vinyl (mlv) Alternatives
Mass-Loaded Vinyl is known for soundproofing. It adds mass to walls, reducing sound travel. Here are some cheap alternatives:
| Material | Benefits | Cost |
|---|---|---|
| Cardboard | Easy to find. Lightweight. | Low cost |
| Blankets | Good for absorbing sound. Easy to hang. | Affordable |
| Acoustic Panels | Effective at sound absorption. Stylish options. | Moderate cost |
Use these materials to cover walls. Hang them on ceilings too. This will reduce echo and noise.
Strategies For Renters
Renters face unique challenges. They cannot make permanent changes. Here are some practical strategies:
- Use removable adhesive hooks to hang blankets.
- Buy freestanding acoustic panels.
- Fill gaps with weatherstripping tape.
- Place rugs on floors to absorb sound.
- Use furniture to block sound paths.
These methods are temporary but effective. They allow you to improve acoustics without damaging walls.
Flooring Solutions
Soundproofing your room can start from the ground up. The right flooring can greatly reduce noise. Cheap solutions exist that won’t break the bank. Focus on two main options: carpets and rugs, and DIY floor underlays. Both can help create a quieter space for recording.
Carpeting And Rugs As Dampeners
Carpets are excellent for sound absorption. They reduce echoes and block noise. Thick carpets work best, but even thin ones can help. Consider adding rugs to hard floors. They add an extra layer of sound dampening.
Choose dense materials for maximum effect. Wool and nylon are popular choices. Placing rugs strategically can create quieter areas. Layering rugs can also increase soundproofing.
Diy Floor Underlays
DIY floor underlays are cost-effective and simple. These can be made from common materials. Foam, cork, or carpet padding works well. Place these under your flooring for better sound insulation.
Cut the underlay to fit your room size. Secure it properly to avoid movement. This will create a barrier against noise. Easy to install, these underlays help reduce sound transmission.
Experiment with different materials. Each has unique soundproofing qualities. Find what works best for your space. A little effort can lead to a quieter recording environment.

Credit: www.youtube.com
Using Furniture And Decor Strategically
Soundproofing a room doesn’t require expensive materials. You can use furniture and decor to help reduce noise. Smart placement and choice of items can make a big difference. Here’s how to do it effectively.
Positioning Furniture For Sound Management
Start by arranging large furniture pieces against walls. Sofas and bookshelves can block sound waves. Place them near windows and doors for extra protection. This setup will absorb and reflect sound.
Use rugs on the floor. They can dampen noise from footsteps and movement. Thick curtains over windows can also help. They reduce outside noise and improve acoustics inside.
Consider adding cushions and throw pillows. They can absorb sound in a room. The more soft surfaces you have, the better the sound control.
Decor Items That Double As Soundproofing
Choose wall art that is thick or made from fabric. Tapestries and fabric-covered panels can act as sound barriers. They add style while reducing echo.
Plants are another great option. They help with sound absorption. Place tall plants in corners for maximum effect.
Use bookshelves filled with books. They not only offer storage but also help with soundproofing. The more items on the shelves, the better they absorb sound.
Enhancing Soundproofing With Technology
Technology can greatly improve soundproofing for recording. It offers tools that help reduce noise. Using apps, sound machines, and proper equipment enhances the recording experience.
Apps And White Noise Machines
Apps and white noise machines create a better sound environment. They mask unwanted sounds effectively. Here are some options:
- White Noise Apps: These apps play continuous sounds. They can drown out background noise.
- Sound Masking Apps: These apps use specific frequencies. They help cover distracting noises.
- Relaxing Sound Apps: Play nature sounds or music. They can create a calm atmosphere.
White noise machines are also useful. They produce a consistent sound. This helps to block sudden noises. Choose a machine with adjustable volume and sound options.
The Role Of Microphones And Placement
Choosing the right microphone is key. It affects sound quality significantly. Here are some tips:
| Microphone Type | Best Use |
|---|---|
| Dynamic Microphones | Good for loud environments |
| Condenser Microphones | Best for studio settings |
Microphone placement matters too. Position the microphone close to the sound source. This reduces background noise. Avoid placing it near windows or doors.
Use a microphone stand to keep it steady. This prevents handling noise. A pop filter can help reduce plosive sounds. This improves overall recording quality.
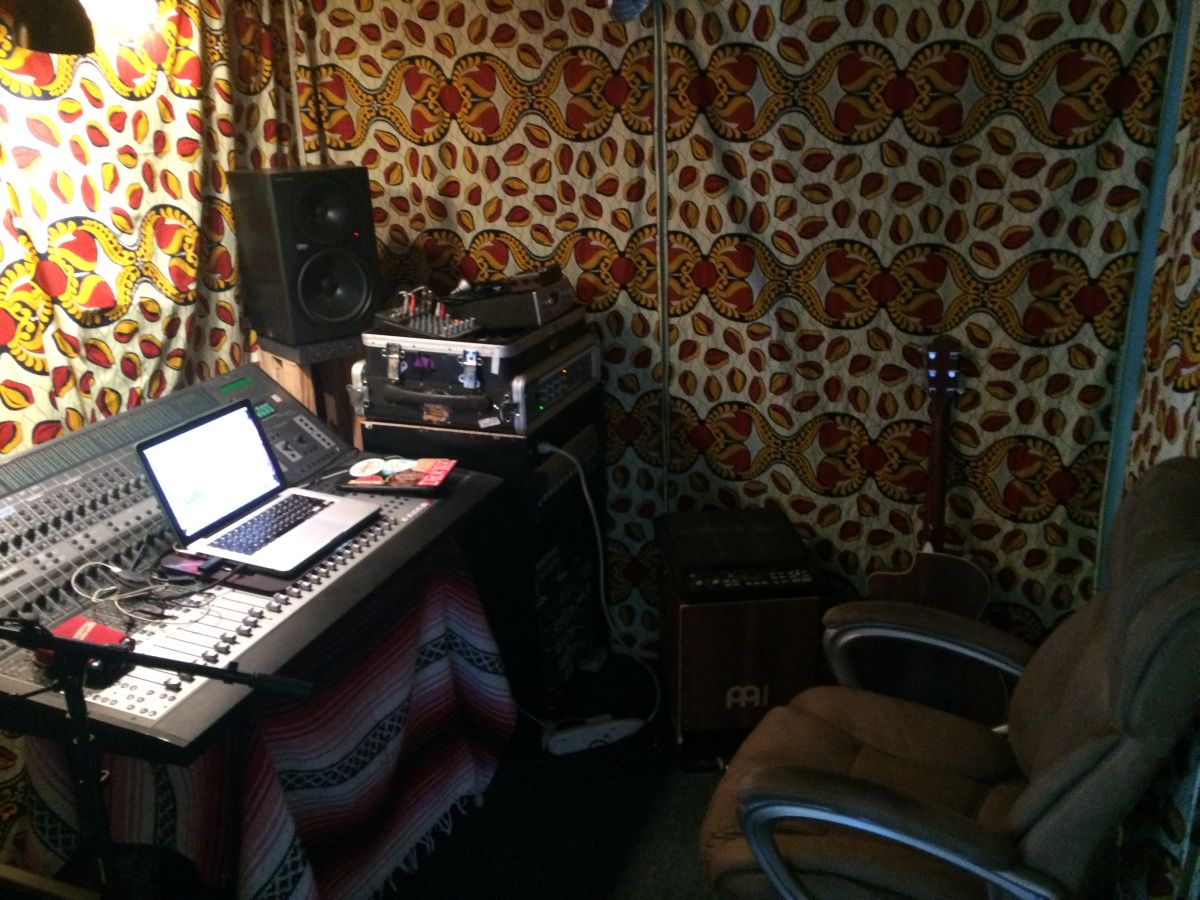
Credit: acousticalsolutions.com
Maintaining Sound Quality
Sound quality is crucial for recording. You want clear audio without distractions. Cheap soundproofing can help, but it must not harm sound quality. Balancing soundproofing and acoustics is important. Regular room tuning and testing will keep everything in check.
Balancing Soundproofing And Acoustics
Soundproofing blocks outside noise. It helps create a quiet space. However, too much soundproofing can trap sound inside. This may lead to echoes or muffled audio. Use materials that absorb sound, not just block it.
Soft furnishings, carpets, and curtains can help. They absorb sound waves. This reduces echoes and enhances clarity. Consider adding acoustic panels to your walls. They improve sound quality without breaking the bank.
Regular Room Tuning And Testing
Testing your room often is key. Listen for unwanted echoes and background noise. Move microphones around to find the best spot. Adjust the setup as needed. This helps maintain sound quality.
Record short clips and listen back. Check for clarity and warmth. Make changes based on what you hear. Small adjustments can make a big difference. Keep fine-tuning until you achieve the desired sound.
Frequently Asked Questions
How Can I Soundproof A Room Cheaply?
To soundproof a room on a budget, consider using materials like heavy curtains, rugs, and acoustic foam panels. These items can absorb sound and reduce noise levels effectively. Additionally, sealing gaps around doors and windows with weatherstripping can enhance soundproofing without breaking the bank.
What Materials Are Best For Soundproofing?
Affordable soundproofing materials include mass-loaded vinyl, acoustic panels, and foam tiles. You can also use carpets and thick blankets for added sound absorption. These materials help to minimize sound transmission and improve the overall acoustics of your recording space.
Can I Soundproof A Room Without Renovations?
Yes, you can soundproof a room without major renovations. Simple solutions like rearranging furniture, adding soft furnishings, and using door sweeps can significantly reduce noise. These methods are effective and require minimal effort, making them perfect for budget-conscious individuals.
Is Diy Soundproofing Effective?
DIY soundproofing can be quite effective when using the right materials. Solutions like homemade acoustic panels and door seals can significantly reduce sound transmission. However, results may vary based on the materials used and the specific sound issues you are addressing.
Conclusion
Soundproofing a room for recording doesn’t have to be expensive. Simple materials can make a big difference. Use rugs, curtains, and foam panels to reduce noise. Focus on sealing gaps and using furniture wisely. Every small step helps create a quieter space.
You can enjoy better sound quality without breaking the bank. Start with easy fixes and see how they work for you. A peaceful environment boosts creativity and improves recordings. Take action today and transform your space into a sound-friendly area.
Your recordings will thank you.
As an Amazon Associate, I earn from qualifying purchases. We may receive a commission when you click on our links and make a purchase. This does not affect our reviews or comparisons — our goal is to remain fair, transparent, and unbiased so you can make the best purchasing decision.